Raspberry Pi 2 GPS Helmet Cam
After the announcement of the new Raspberry Pi 2 a few weeks ago I found myself being drawn to their wonder and possibilities. But I kept going to ThePiHut.com, filling my shopping cart with all sorts of wonderful bits and pieces and then abandoning the cart when I realized I couldn’t justify the expense if I didn’t have a worthy project in mind.
After a few more days I had a light-bulb moment: why not build an action cam with GPS capability and overlay the GPS data in real-time! …So I ordered all the kit I thought I’d need and then I did some Googling… Yup, as luck would have it someone had already beaten me to it. The disappointment didn’t last long because when I started to realize how much coding would actually be required I was very glad that that same someone had done the leg-work for me.
I’ve only dabbled with Python so some hacking of existing code would probably be enough of challenge.
The shoulders on which I decided to stand (Standing on the Shoulders of Giants and all that…) were those of Martin O’Hanlon from www.stuffaboutcode.com
Martin has comprehensively documented his project here:
http://www.stuffaboutcode.com/2014/01/raspberry-pi-gps-helmet-cam.html
I’ve pretty much followed Martin’s guide to the letter. I wasn’t too bothered about having a temperature sensor in the first phase so I commented out all the lines that referred to that functionality. This meant changing the size of the array that was used in outputting the images… Actually before I go further I’ll explain the process of how the data gets overlaid because it wasn’t immediately obvious to me:
- Video is captured at the same time as the GPS data but they’re done separately. You end up with a GPS data file and a video file.
- When you’re back home you run another script (createVideos.sh) that creates frame-by-frame images of the GPS data and then turns those images into a video.
- You then take these two videos and merge them together.
When Martin originally wrote the code he found that the picamera library didn’t do what he needed so made some modifications. Now picamera is a little different and includes some of this functionality but it lead to a few issues for me.
Most importantly was changing line 263 of “pelmetcam.py” from:
framenumber = camera.frame
to:
framenumber = camera.frame.index
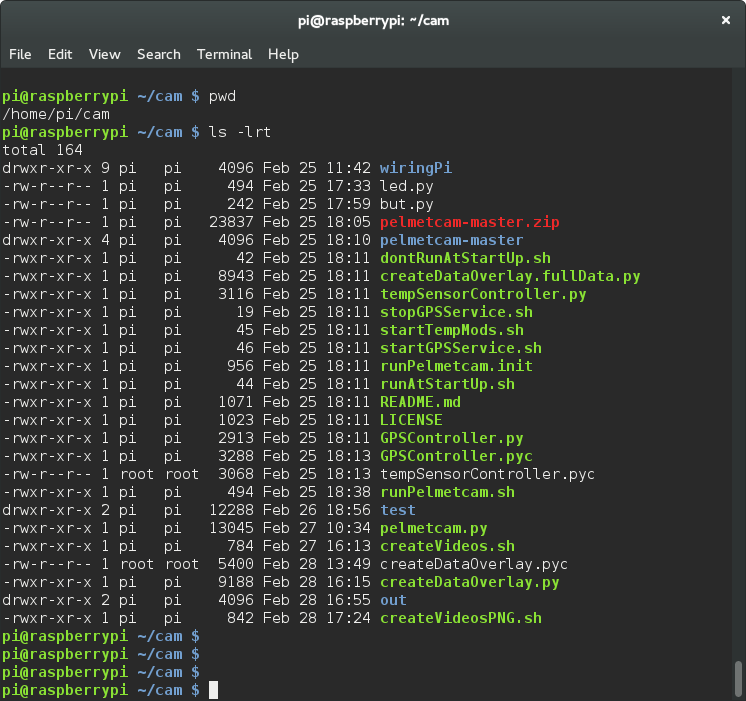
I also installed the files into /home/pi/cam so I had to modify some path names in the shell scripts.
Once I’d made these changes everything started to work. But I noticed the GPS data JPEGs that were, when overylay’d on the final video were not transparent. I believe that Martin used a Windows tool to perform this step so may have found another way around it but I wanted the whole Linux experience so needed to find a way to output images that had transparency.
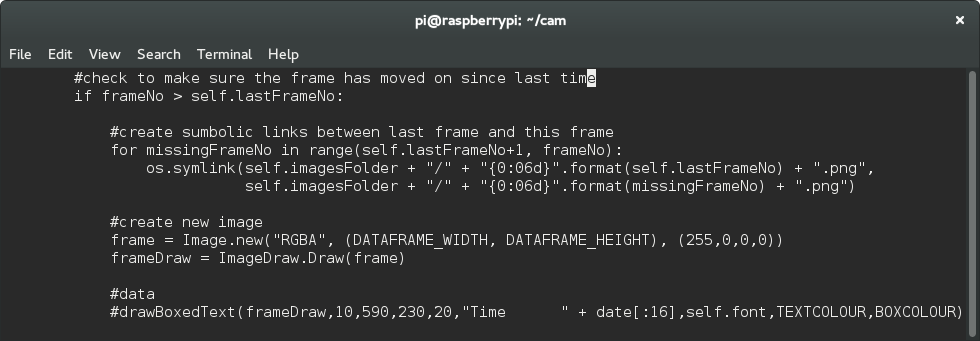
After lots of Googling and experimentation I found that I could get the right results by modifying the createDataOverlay.py script. First I replaced all the *.jpg entries to *.png and then I changed line 69 to look like this:
frame = Image.new(“RGBA”, (DATAFRAME_WIDTH, DATAFRAME_HEIGHT), (255,0,0,0))
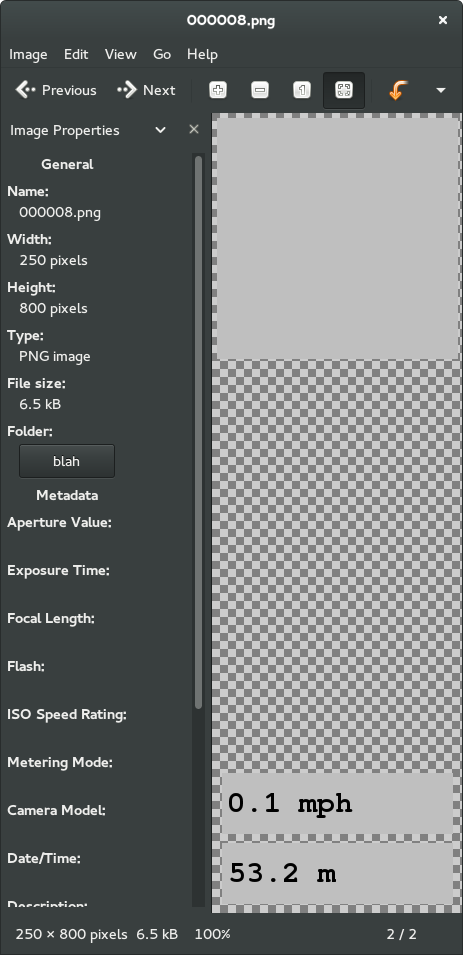
Here’s an example of one of the output PNG files:
I then found that the video created from the images didn’t have the transparency (the backgrounds were red). After much brain-wracking, experimentation and Googling I found that this wasn’t actually a problem. The output GPS video was fine. It was the step of merging the two videos that needed to be modified.
In the createVideos.sh script the mencoder line wasn’t working with the transparency data. I eventually found an ffmpeg command to do the job:
ffmpeg -i %6d.png -r 25 -vcodec png data.avi
As it appears in the script:
ffmpeg -i $INPUTDIR/%6d.png -r 25 -vodec png $OUTPUTDIR/data.avi
The final piece of the puzzle is to merge the two files together:
ffmpeg -i vid.mp4 -vf “movie=data.avi [a]; [in][a] overlay=0:0 ” output.mp4
This project is very much in it’s infancy but here’s a very short clip that shows where I’m currently at.
related articles
- How to build a 7 node Raspberry Pi Cluster (June 27th, 2015)


